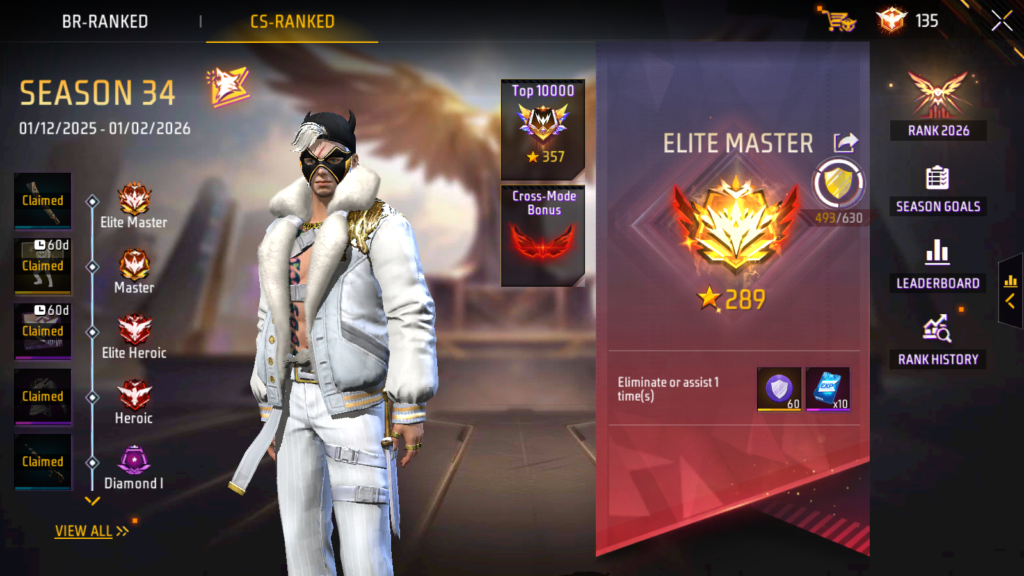
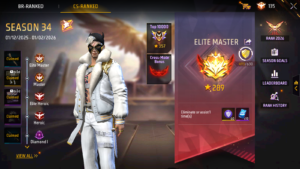
Free Fire Rank Push Stuck in Diamond IV? I feel your pain. The “Minus” (-35, -50 points) when you die early is heartbreaking. You play well for 3 games, get +20, and then die once at the start and lose -45. It feels impossible.
But it’s not. I’ve hit Heroic/Master every season for the last two years, and I’m not the best shooter in the world. I just play smarter. Rank push isn’t about getting 10 kills; it’s about survival. This guide covers the mental and tactical side of reaching Grandmaster.
1. The Math of Ranking Points
You need to understand how the system works. Points are split into two categories:
- Battle Score: Based on damage and kills.
- Survival Score: Based on time alive.
The Trap: Many players land hot (Clock Tower, Peak) trying to get kills. If you die at #40 with 3 kills, you will still get minus points in high ranks. But if you die at #5 with 0 kills, you will get plus points. Survival is priority #1.
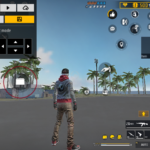
2. Landing Strategy: Avoid the “Hot Drops”
If you are serious about pushing rank, stop landing at Peak. Stop landing at Factory roof. It’s a coin flip. You might win, you might die.
My Favorite Safe Spots (Bermuda):
- Sentosa: Land on the far back island. Loot up. Cross the bridge only when the zone forces you. Most players are scared of being bridge-camped, so they avoid it.
- Rim Nam Village: Great loot, usually empty. The only downside is the long run to the zone, but if you find a car, you are safe.
- Bullseye / Graveyard: Good for duos.
3. The “Blue Zone” Strategy
Should you go to the Blue Zone (High Tier Loot)? Only if it spawns on the edge of the map. If the Blue Zone is at Bimasakti Strip, ignore it. It’s a death trap. A Level 3 vest isn’t worth losing 50 points.
4. Zone Rotation: The Pinwheel Method
Never run straight to the center of the safe zone. The center is where all the aggressive players go to fight. Instead, play the edge of the zone.
Rotate in a spiral (like a pinwheel). Move with the white line. This ensures that no one is behind you (because the storm is behind you). You only have to look forward and sideways.
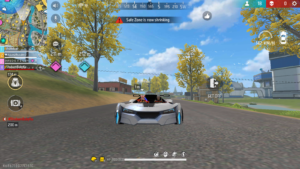
5. Vehicles are Meta
In Solo rank, a vehicle is your best friend. Misha (the character) is great for this. Driving a car gives you:
- Speed: Fast rotation to the zone.
- Protection: It’s harder to hit a driver.
- Mobile Cover: If you get caught in an open field, stop the car, blow it up, and hide behind it.
6. When to Fight vs When to Run
This is the hardest lesson. If you see an enemy, you don’t have to shoot. Ask yourself:
- “Do I have cover?”
- “Do I have Gloo Walls?”
- “Is the zone shrinking?”
If the zone is shrinking and you are far away, do not fight. Even if you kill him, you might die to the storm. Just run. Let him shoot. Use Gloo Walls to block and keep running.
7. The “Two Loss” Rule (Mental Health)
Rank pushing is stressful. If you play two games and get huge minus points in both, STOP. Take a break. Play Clash Squad. Watch a video.
If you keep playing while angry (“tilted”), you will play aggressively to try and earn the points back quickly. This always leads to more deaths and more minus points. Protect your mindset.
Conclusion
Grandmaster takes patience. It’s boring sometimes. You spend 15 minutes looting and running, and only 2 minutes fighting. But that is how you get the points. Play smart, stay alive, and get that Booyah.